How I Use Worked Examples
A routine and some broader principles I use to design effective worked examples
I liked the idea of worked examples before I figured out how to make them work in my class. A worked example is a complete solution to a problem. The goal is to have students study a worked example as a way to learn some math. While the idea has been around for a long time, I decided to develop a worked example routine after reading Michael Pershan’s great book on the subject. A lot of what I’m doing is inspired by the book, adapted to work for my classroom.
Here was my key insight after a bunch of trial and error trying to make worked examples work: Trying to learn math by solving a problem or being guided through a problem can be overwhelming. The phrase “worked example” might evoke images of a teacher demonstrating a procedure on the board, but that’s not what it means. The goal of a worked example isn’t just to show students an example, it’s to simplify the learning experience so there are fewer demands on the student’s attention and working memory. Trying to solve a problem involves a lot of mental energy that goes toward figuring out the thing, rather than learning about the thing. The goal of a worked example is to focus on the most important mathematical ideas and remove excess cognitive load. Therefore, the structure of a worked example needs to be as simple as possible and put maximum focus on the key mathematical ideas.
The Routine
After a bunch of trial and error, here is a routine I’ve mostly settled on:
Step 0: Preparation
Before I give students a worked example I want to make sure they understand some of the math that’s going to be in the worked example. Let’s say I want them to think about the equation 3(x-1)=15. I might start by giving students some problems like 3x=15 and x-1=5 and a few more along those lines. This is review; students have seen these before. But the reminder helps ensure students have the tools they need to understand what they’re about to look at, and primes them to draw on those ideas in a few minutes.
Step 1: Study the Solution
Below is my template for the routine, and here is a digital version
I ask students to read the problem and the solution and try to understand what’s happening. Sometimes I’ll add a few quick pieces of clarification as well. There’s nothing to copy down and not much else happening on the page. I keep the solution as simple as possible. Not much more to it than that.
Step 2: Analyze the Solution
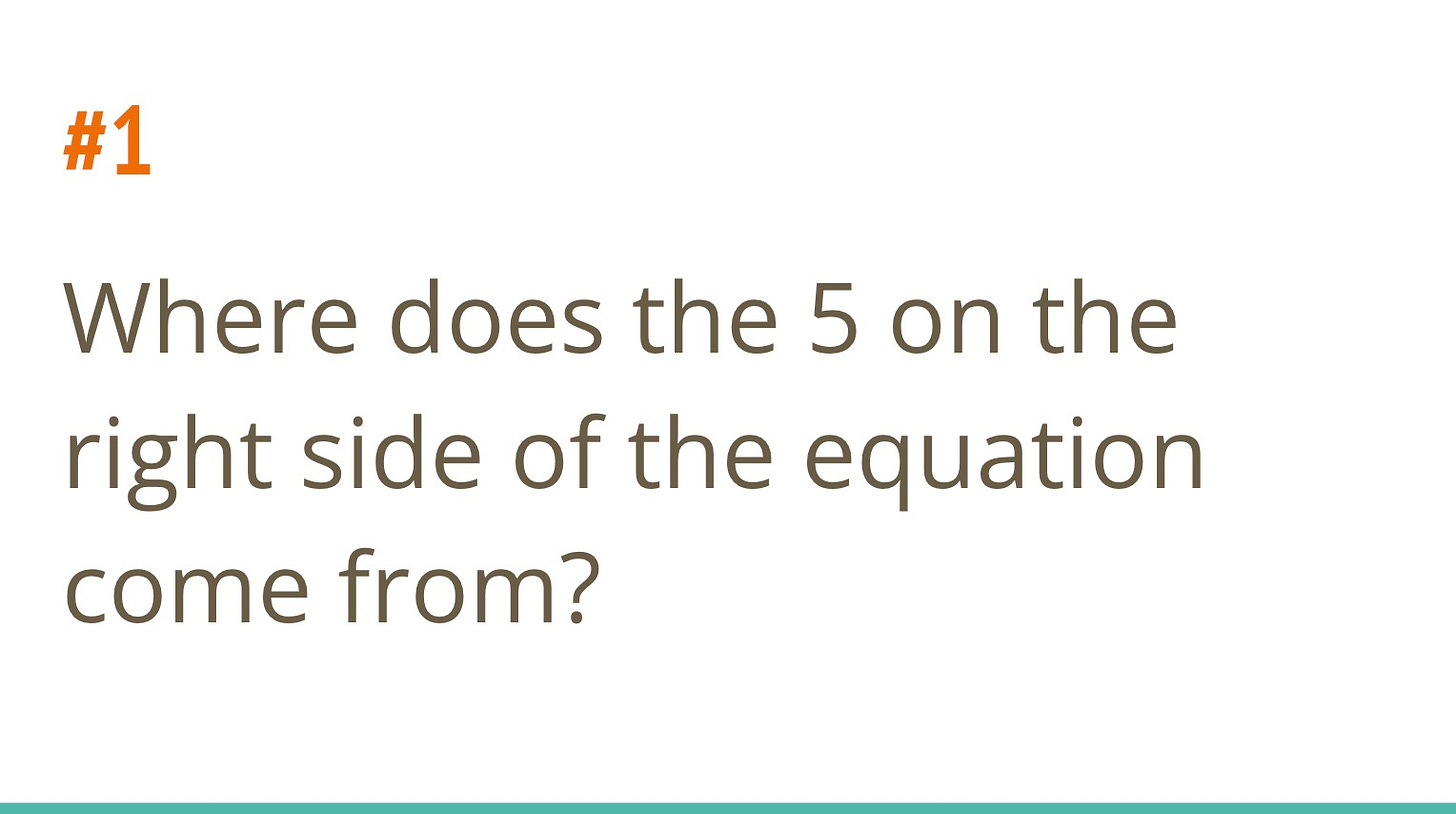
Next I give students three prompts to analyze the solution. I have three questions prepped on slides and I display them one at a time once students are finished an initial read of the solution. The slides look like this:
Again, very simple. Students first write an answer on the lines at the bottom of the handout. Then I typically do a turn-and-talk and call on one or two students to share. I vary this part to avoid too much repetition. If everyone’s answers look good we move a little faster, and we spend more time on questions where students aren’t sure or there are different perspectives. For this worked example my next two questions were:
How would the solution be different if the equation was:
3(x+1)=15
How is solving 3(x-1)=15 different from solving 3x-1=15? (We had done a similar activity working on two-step linear equations the day before.)
Step 3: Your Turn
This section is blank at the start to avoid distractions. After we analyze the solution I give students a problem to copy down in this section and try on their own. I can dial in the difficulty based on how analyzing the solution went. In this case I went with 4(x - 2) = 12, a slight variation on the initial problem to see how well students understood the second step. Students try the problem, then we discuss any common issues I’m seeing.
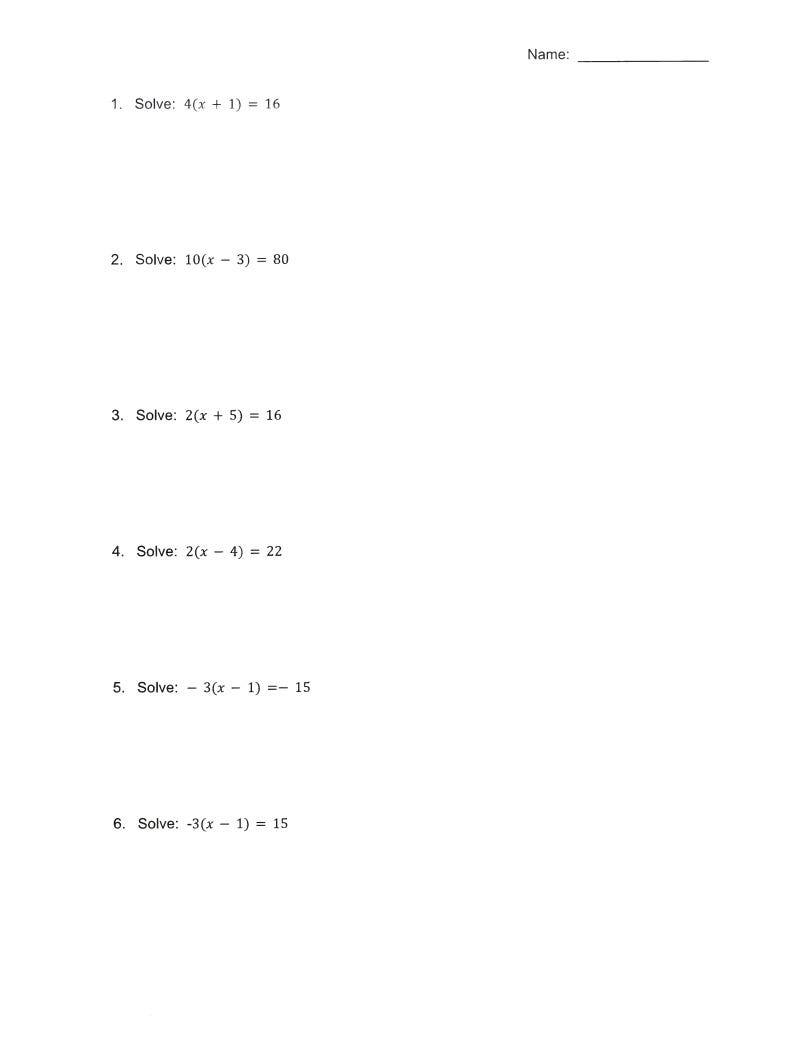
Step 4: Practice
This is on the back of the handout. The number of problems changes depending on how long they take, and I sometimes add in some extra scaffolding to get students started. I also try to add some more challenging problems at the end to see how well students generalize what they just learned — in this case, I threw in some negatives in the last two.
Key Idea
The premise of a worked example is that learning math by solving a problem often means there’s too much to think about and students either get overwhelmed or just pay attention to the wrong stuff. The design of this worked example routine, the handout, and the example itself are all trying to focus student attention on the key mathematical ideas. I struggled to find a good worked example routine for a while because there was other stuff on the page or other things for students to keep track of or students didn’t have a clear place to write when analyzing the solution. This template has worked pretty well for me in getting students focused on the math.
Three Different Purposes for Worked Examples
So when do I use worked examples? I’ve found three different places where a worked example can be an effective tool.
Understanding a Complicated Procedure
This is the goal of the worked example above. Solving equations involves a few different steps. It’s easy to end up focusing on the steps themselves. “First you divide, then you subtract.” That type of knowledge doesn’t generalize very well when students see different types of problems. A worked example creates opportunities to think about why the steps are what they are, setting students up to apply their knowledge in different contexts in the future.
Applying a General Principle
A second purpose is getting students thinking about a general principle that they can apply to different situations. Below is a worked example I used in our unit on adding positive and negative numbers. We use the floats and anchors metaphor from the Desmos curriculum. When adding a positive and a negative, no matter what the order is, students can ask, “are there more floats (positives) or anchors (negatives)? How many more?” This worked example was meant to focus on that idea. Then I had students apply it to a bunch of different problems with positive and negative answers, different sizes, etc. The worked example structure is a great way to get students thinking about the general principle, rather than focusing too much on a specific problem.
Choosing a Strategy
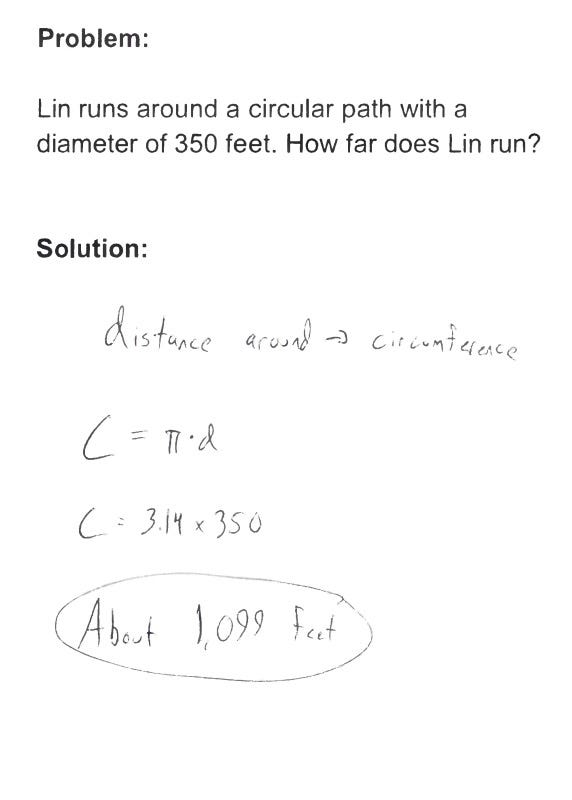
Here’s a problem I have every year. I teach circles. Students get good at solving circumference problems as long as I say “find the circumference,” and solving area problems as long as I say “find the area.” Then when I give them a mix of word problems they have no idea which is which. This worked example is designed to get students thinking about why this problem is a circumference problem, and I ask students a few questions about why this problem is about circumference and what they might do to change the problem to be an area problem. Same idea as before: using a worked example helps to focus student thinking on the essential math I want them to think about. This sets up some great mixed practice where students solve both circumference and area problems and practice discriminating between the two.
Closing
Worked examples sound simple. Show students an example and help them learn something from it. As I tried to make worked examples work in my classroom I learned two big things. First, the point of worked examples is to really focus thinking on the essential math and strip everything else away, so the routine should be designed around that principle. Second, worked examples can have a bunch of different goals. They’re great for procedures, but they’re also great at getting students thinking about big ideas that go beyond the specific example they’re looking at.
If you like this setup, feel free to make a copy of my template and make it your own!


Thanks for sharing! Really enjoyed your post.